 Object Toolbox
Overview
The Toolbox is the central dialog to use when you are developing a measurement configuration or application. In the Toolbox, all objects you can use in your project are listed.To insert an object from the Toolbox into your project, drag the object from the Toolbox into the drawing board.
User Interface

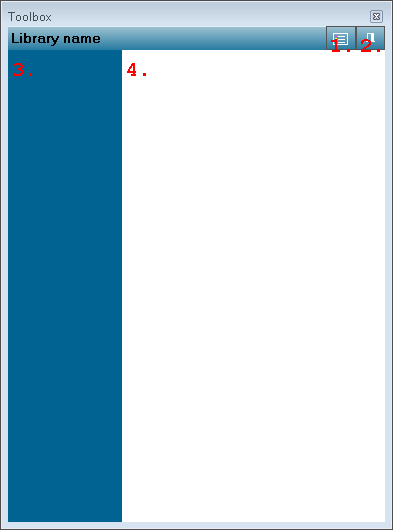
1. View Mode
Press to change the View Mode of the toolbox: lists or tiles.2. Pin Mode
Press to change the Pin Mode of the toolbox.3. Items list
Shows libraries of objects.4. Items list
Shows items that can be dragged to the drawing board.
Details
To open the Toolbox, press the F9 key on your keyboard, or choose in the View menu the item Toolbox. You can also use the Quick Pop-up feature; to enable this feature, press the Toolbox button on the toolbar so that it is highlighted. If you now move your mouse to the Toolbox Bar on the left border of the drawing board, the Toolbox pops up.To close the Toolbox (if its Pin function is not active), just click once on the drawing board.
The Toolbox offers a number of features to help in its use:
Keep open (Pin mode)
If the Pin function is active, the Toolbox does not close if you click on the drawing board, or if another dialog opens. The Pin function can be activated or deactivated with the Pin button on the right-top of the Toolbox.
List or Tiles
The objects in the Toolbox can be displayed in two ways: either as Tiles (larger symbols) or as Lists (smaller symbols). To change between these modes, press the View Mode button on the right-top of the dialog.
Libraries
The objects in the Toolbox are divided in libraries, to make it more easy to find an object. The libraries are listed in the left part of the Toolbox. If you move your mouse pointer over the categories, their contents are displayed in the right part of the Toolbox. You can also click on a library name to display its contents.
